IN THIS ARTICLE
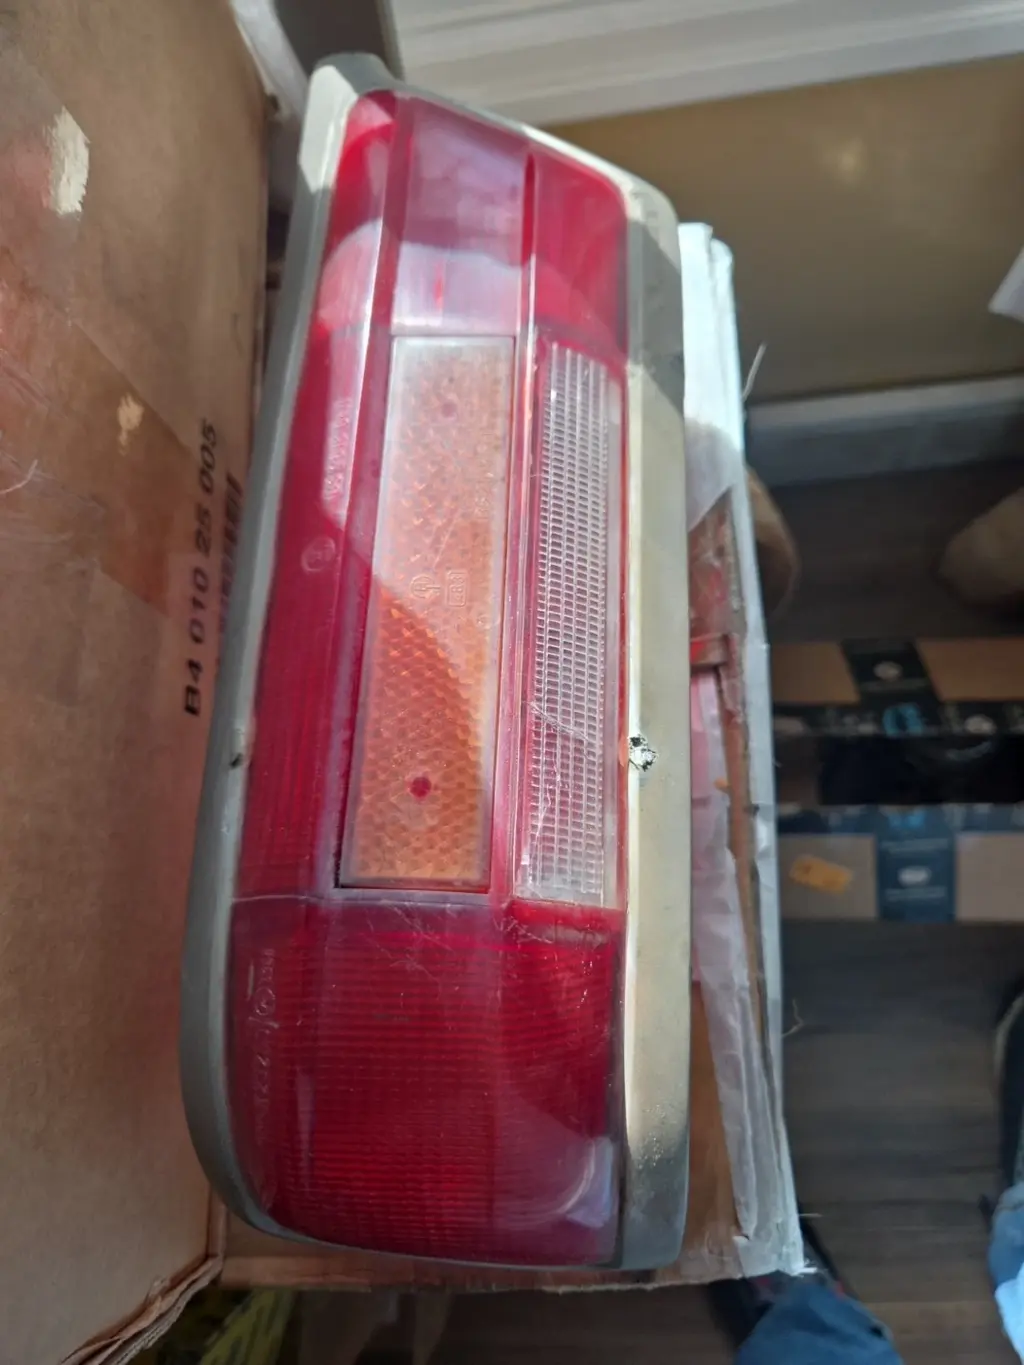
Photo: KDTL/Mercedesoem, from the actual W111 rear-lamp listing. Confirm the side and exact application with us before purchase.
A cracked W111 coupe tail light seems like a small problem. It is a red lamp at the back of the car, after all. Surely you buy another red lamp, turn a few screws, and get on with enjoying the view through that broad windshield.
The right answer is to match the whole lamp before buying. Confirm the body style, side, lens pattern, housing, mounting points, and included pieces. Then use the correct seals and test every light function after installation. A part that looks close in a small photograph can still be wrong where it matters.
This article features an original Mercedes rear lamp in KDTL's W111 coupe-and-cabriolet listing. It is listed as used and is shown in the real photographs below. We are not treating it as a universal W111 lamp, and we are not promising that every piece needed for your repair comes with it.
This is a guide to one repair: replacing a damaged rear lamp without buying the wrong original part. The rest of the car can wait. It has already waited several decades.
Start by looking beyond the obvious crack. A rear lamp contains more than the lens you see from the curb. There may also be damage to the trim, housing, seals, bulb holder, or mounting pieces.
Make a simple list of what is wrong. Is the lens cracked? Is the trim bent or worn? Is there moisture inside? Is the light dim, dead, or unreliable? Each problem can lead to a different repair.
A cracked lens does not always call for a complete assembly. A badly damaged housing may make a lens-only purchase false economy. And a clean-looking lamp will not solve a wiring fault elsewhere in the car.
Take photographs before removing anything. Show the whole lamp, the surrounding bodywork, the inside of the trunk, and any visible labels or markings. If access is poor, have a technician do the inspection rather than tugging at a part you cannot see.
The goal is to buy what the car needs, not what the first search result offers. This sounds obvious until you are looking at a rare part late at night and the “Buy” button begins to feel like a rescue service.
Give the seller the exact car, not simply “a W111.” Identify whether it is a coupe, cabriolet, or sedan, and provide the chassis number. Include the year and any known changes to the lighting.
Model names alone are a shaky foundation for a parts order. The featured KDTL listing names 220SE, 250SE, and 280SE coupe and cabriolet applications, but that title is not a promise that one lamp suits every car carrying one of those badges.
Compare your existing lamp with the candidate. Use both the front shape and the back. Mounting details often tell a clearer story than a polished lens photographed at a flattering angle.
If the car has been restored before, allow for the possibility that its current parts were changed. The lamp on it today is useful evidence, but it is not always the last word on the correct factory arrangement.
A chassis-based parts check can help resolve that question. A careful seller or restoration shop will want enough information to identify the car, not merely enough to complete an order.
Use “vehicle left” and “vehicle right,” viewed from inside the car facing forward. Avoid relying only on “driver's side” or “passenger's side.” Those descriptions become less helpful when cars and parts move between markets.
A side designation should agree across the part, photographs, and seller's description. If it does not, stop and ask. One clear photo of the mounting shape can prevent a very long conversation with a return label.
The featured listing is a useful reminder to verify details with KDTL rather than guessing from its headline. We are deliberately not assigning a side to the pictured lamp in this article. Confirm the current listing details and side before buying.
Do not try to solve the question by turning the photo upside down until the lamp feels familiar. Match the physical features. Compare the outer end, lens sections, trim shape, and attachment points with your car.
If the old lamp has been removed, place it on a soft surface and take straight-on photographs. Include a ruler where dimensions would help. A clear comparison is more useful than a dozen close-ups of reflections.
A red outer shape is not the whole specification. Look at the lens sections, their colors, their texture, and their arrangement. Compare the candidate with the other lamp on the car as well as with the damaged one.
The photographs of KDTL's original rear lamp show red, clear, and amber sections. They are evidence of what this particular part looks like, not a claim that this pattern is right for every W111 coupe.
Parts catalogs also list different rear-lamp and lens options. For example, Classic Mercedes Parts lists a red/red W111 lamp, while its rubber catalog separates left and right tail-light seals. Those listings show why color pattern and side need checking rather than assumption. See the red/red lamp listing and the seal catalog.
If originality matters to your restoration, confirm the correct arrangement for the car's build and market. If road-use rules are part of the concern, have the shop check those too. Do not change lens colors merely because a different pattern is available.
Also look at how the new-to-you part will sit beside the surviving lamp. An original used lens may have aged differently. That is worth discussing before purchase, not after the car is parked in bright sun.
Ask exactly what comes with the part. A title can use the word “assembly” while the item specifics or photographs show a narrower package. Your job is to get a clear answer before the old lamp is on the bench.
The featured listing identifies a used tail-light item and lists a lens among its included pieces. Do not turn that into an assumption that bulbs, a bulb holder, fresh seals, and every fastener are supplied.
Make a short checklist for the seller: lens, trim, housing, bulb holder, seal, and mounting hardware. Ask which items are included and which must be reused or sourced separately. It takes less time than placing a second order.
Condition matters at the back as much as at the front. Request photographs of the mounting points and areas that do not appear in the published views. Ask about cracks, repairs, corrosion, and loose pieces.
Used original parts have a history. That history can include wear and earlier repairs, so inspect them with reasonable care. “Original” tells you about the part's origin; it does not certify that all its working surfaces are perfect.
Inspect the seals when the lamp is removed. A brittle, flattened, torn, or poorly fitting seal deserves attention. It is a small part whose job becomes very obvious when water finds a way past it.
Choose the seal for the actual lamp and side, not from a vague description. The Classic Mercedes Parts rubber catalog lists separate left and right tail-light seals under distinct references. Check a proper application source before ordering.
Clean the body opening and sealing surfaces gently. Look for trapped dirt, damaged paint, and signs of earlier leaks. Do not use the lamp installation to hide a bodywork problem that ought to be repaired first.
A large smear of sealant is not a substitute for checking the correct gasket and fit. Have the installer decide whether any sealant is appropriate for the specified repair. Guesswork here can make the next removal harder without making the current repair better.
Tightening harder is not the cure for every gap. The lamp should sit correctly with the proper parts. If it does not, find the reason rather than asking old trim and aged plastic to survive one more turn of the wrench.
Once the lamp is fitted, test every function it is meant to provide. Have someone stand behind the car while the controls are operated. Check the lamp's performance, not just whether one bulb comes on.
If a light remains dim or fails to work, check the bulb, contacts, holder, wiring, and ground path. Do not assume the replacement lens caused an electrical problem. Equally, do not assume an old holder is sound because it worked sometime last year.
The installer should verify the correct bulb types and that the connections are secure. A lamp that behaves properly in the garage should also remain secure and dry after the car returns to normal use.
Recheck after the first careful wash or wet-weather drive. Look for moisture and confirm that the seal is doing its job. A good repair is one you can stop thinking about.
Keep the removed pieces until you have confirmed the fit and operation. Even a damaged original can provide useful markings or hardware. Do not throw away your reference material halfway through the job.
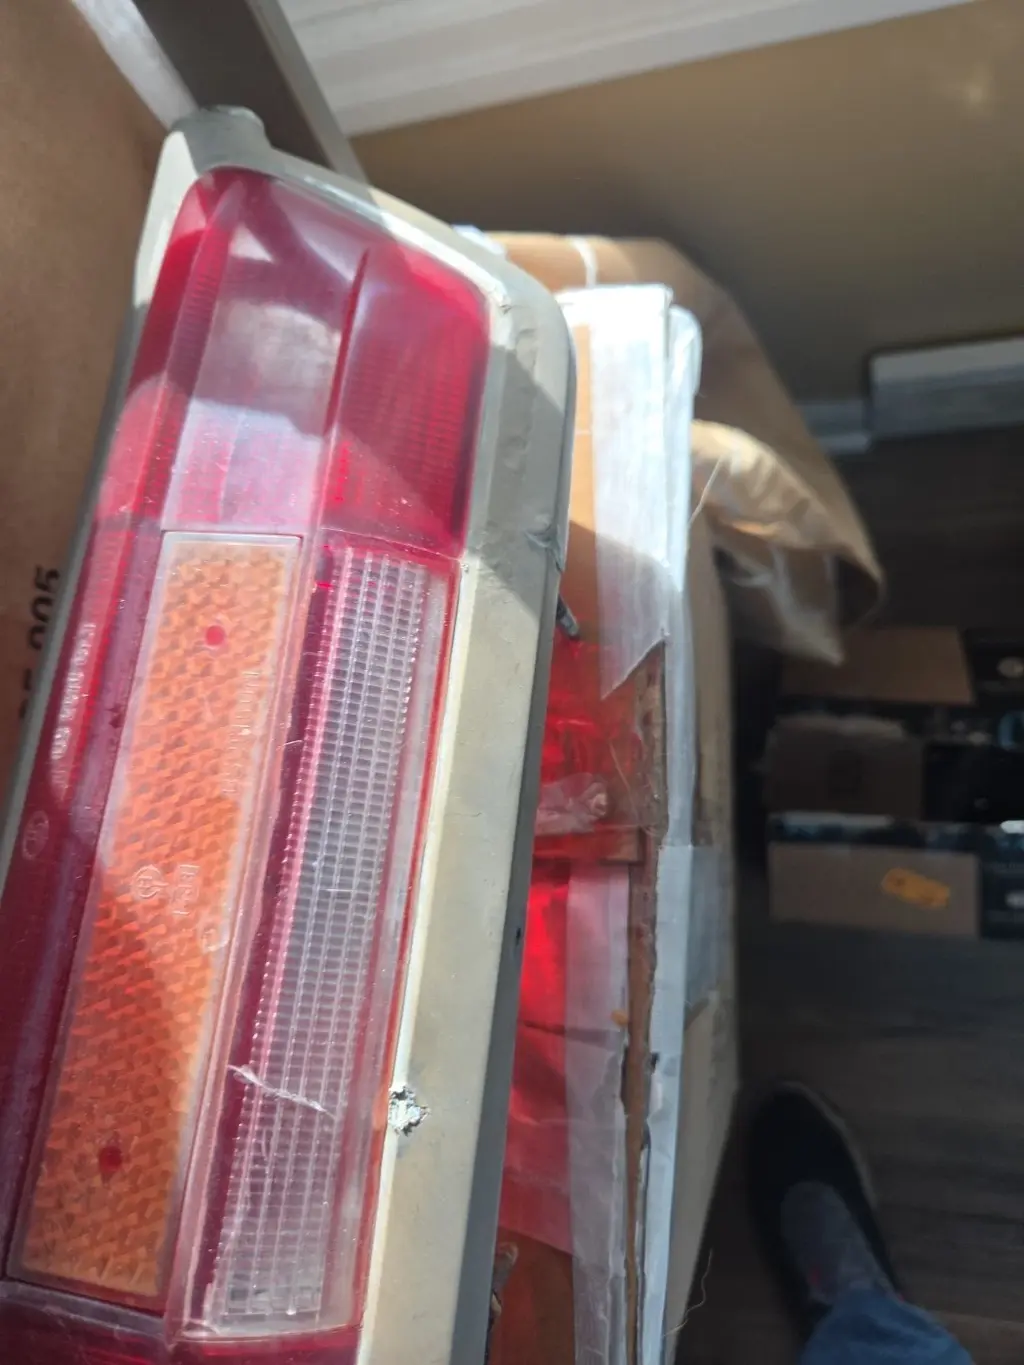
Photo: KDTL/Mercedesoem, from the actual listing. These are listing photographs of the same part, not separate lamps or a before-and-after restoration.
Send KDTL the chassis number, body style, side needed, and clear photos of the current lamp. Explain whether you need a lens, trim, housing, or more complete replacement. That gives us something useful to work with.
Review the featured original Mercedes lamp as a candidate, not as a guaranteed match. The live listing sets the condition, availability, and sale terms. It includes buyer responsibility for compatibility and as-is, no-warranty language.
An original part can be the right route when you want to preserve the car's character. The benefit comes from finding a correct, usable part, not simply from avoiding the word “reproduction.” Inspect condition and fit with the same care either way.
You can start with the KDTL eBay store, then ask about the exact part you need. One good exchange of information is cheaper than one wrong lamp.
The short version is simple: match the car, match the side, match the lens, and know what is included. Then seal it and test it properly. Your W111 can return to looking elegant instead of looking as though someone backed it into a shopping cart.